So, you're here wondering, "How do I SSH into an IoT device on Windows 10?" Well, buckle up, my friend, because we're diving deep into the world of remote connections and IoT devices. Imagine this—you've got some cool IoT gadget sitting somewhere, maybe a Raspberry Pi or a smart home device, and you want to access it from your Windows 10 machine without being physically present. Sounds cool, right? SSH (Secure Shell) is your golden ticket to doing exactly that. Let’s break it down step by step.
SSH is not just a random tech term; it’s a protocol that lets you control and manage devices remotely. Whether you're a hobbyist tinkering with IoT gadgets or a pro managing a network of devices, SSH is your go-to tool. Windows 10 makes it super easy to set up SSH, even for beginners who might be intimidated by all the tech jargon floating around.
Before we get into the nitty-gritty, let me tell you something important: security matters. When you SSH into an IoT device, you're essentially opening a door to your network. If you don’t set things up properly, bad actors could sneak in. But don’t worry—we’ve got your back. This guide will walk you through everything you need to know, from setting up SSH on Windows 10 to securing your connection like a pro. Let’s dive in!
Read also:Meghan And Harry Might Be Headed Back To Canada Heres Why
What Is SSH and Why Should You Care?
Alright, let’s start with the basics. SSH stands for Secure Shell, and it’s basically a way to connect to and control another device over a network. Think of it as a secure tunnel that lets you communicate with your IoT device without exposing sensitive information. Why should you care? Well, if you’re into IoT or remote work, SSH is your best friend. It’s secure, reliable, and widely supported.
Here’s the deal: when you SSH into an IoT device, you’re not just sending commands; you’re managing files, configuring settings, and even troubleshooting issues—all from the comfort of your Windows 10 PC. Plus, SSH encrypts your data, so no one can snoop on what you’re doing. That’s pretty sweet, right?
Why Use SSH for IoT Devices?
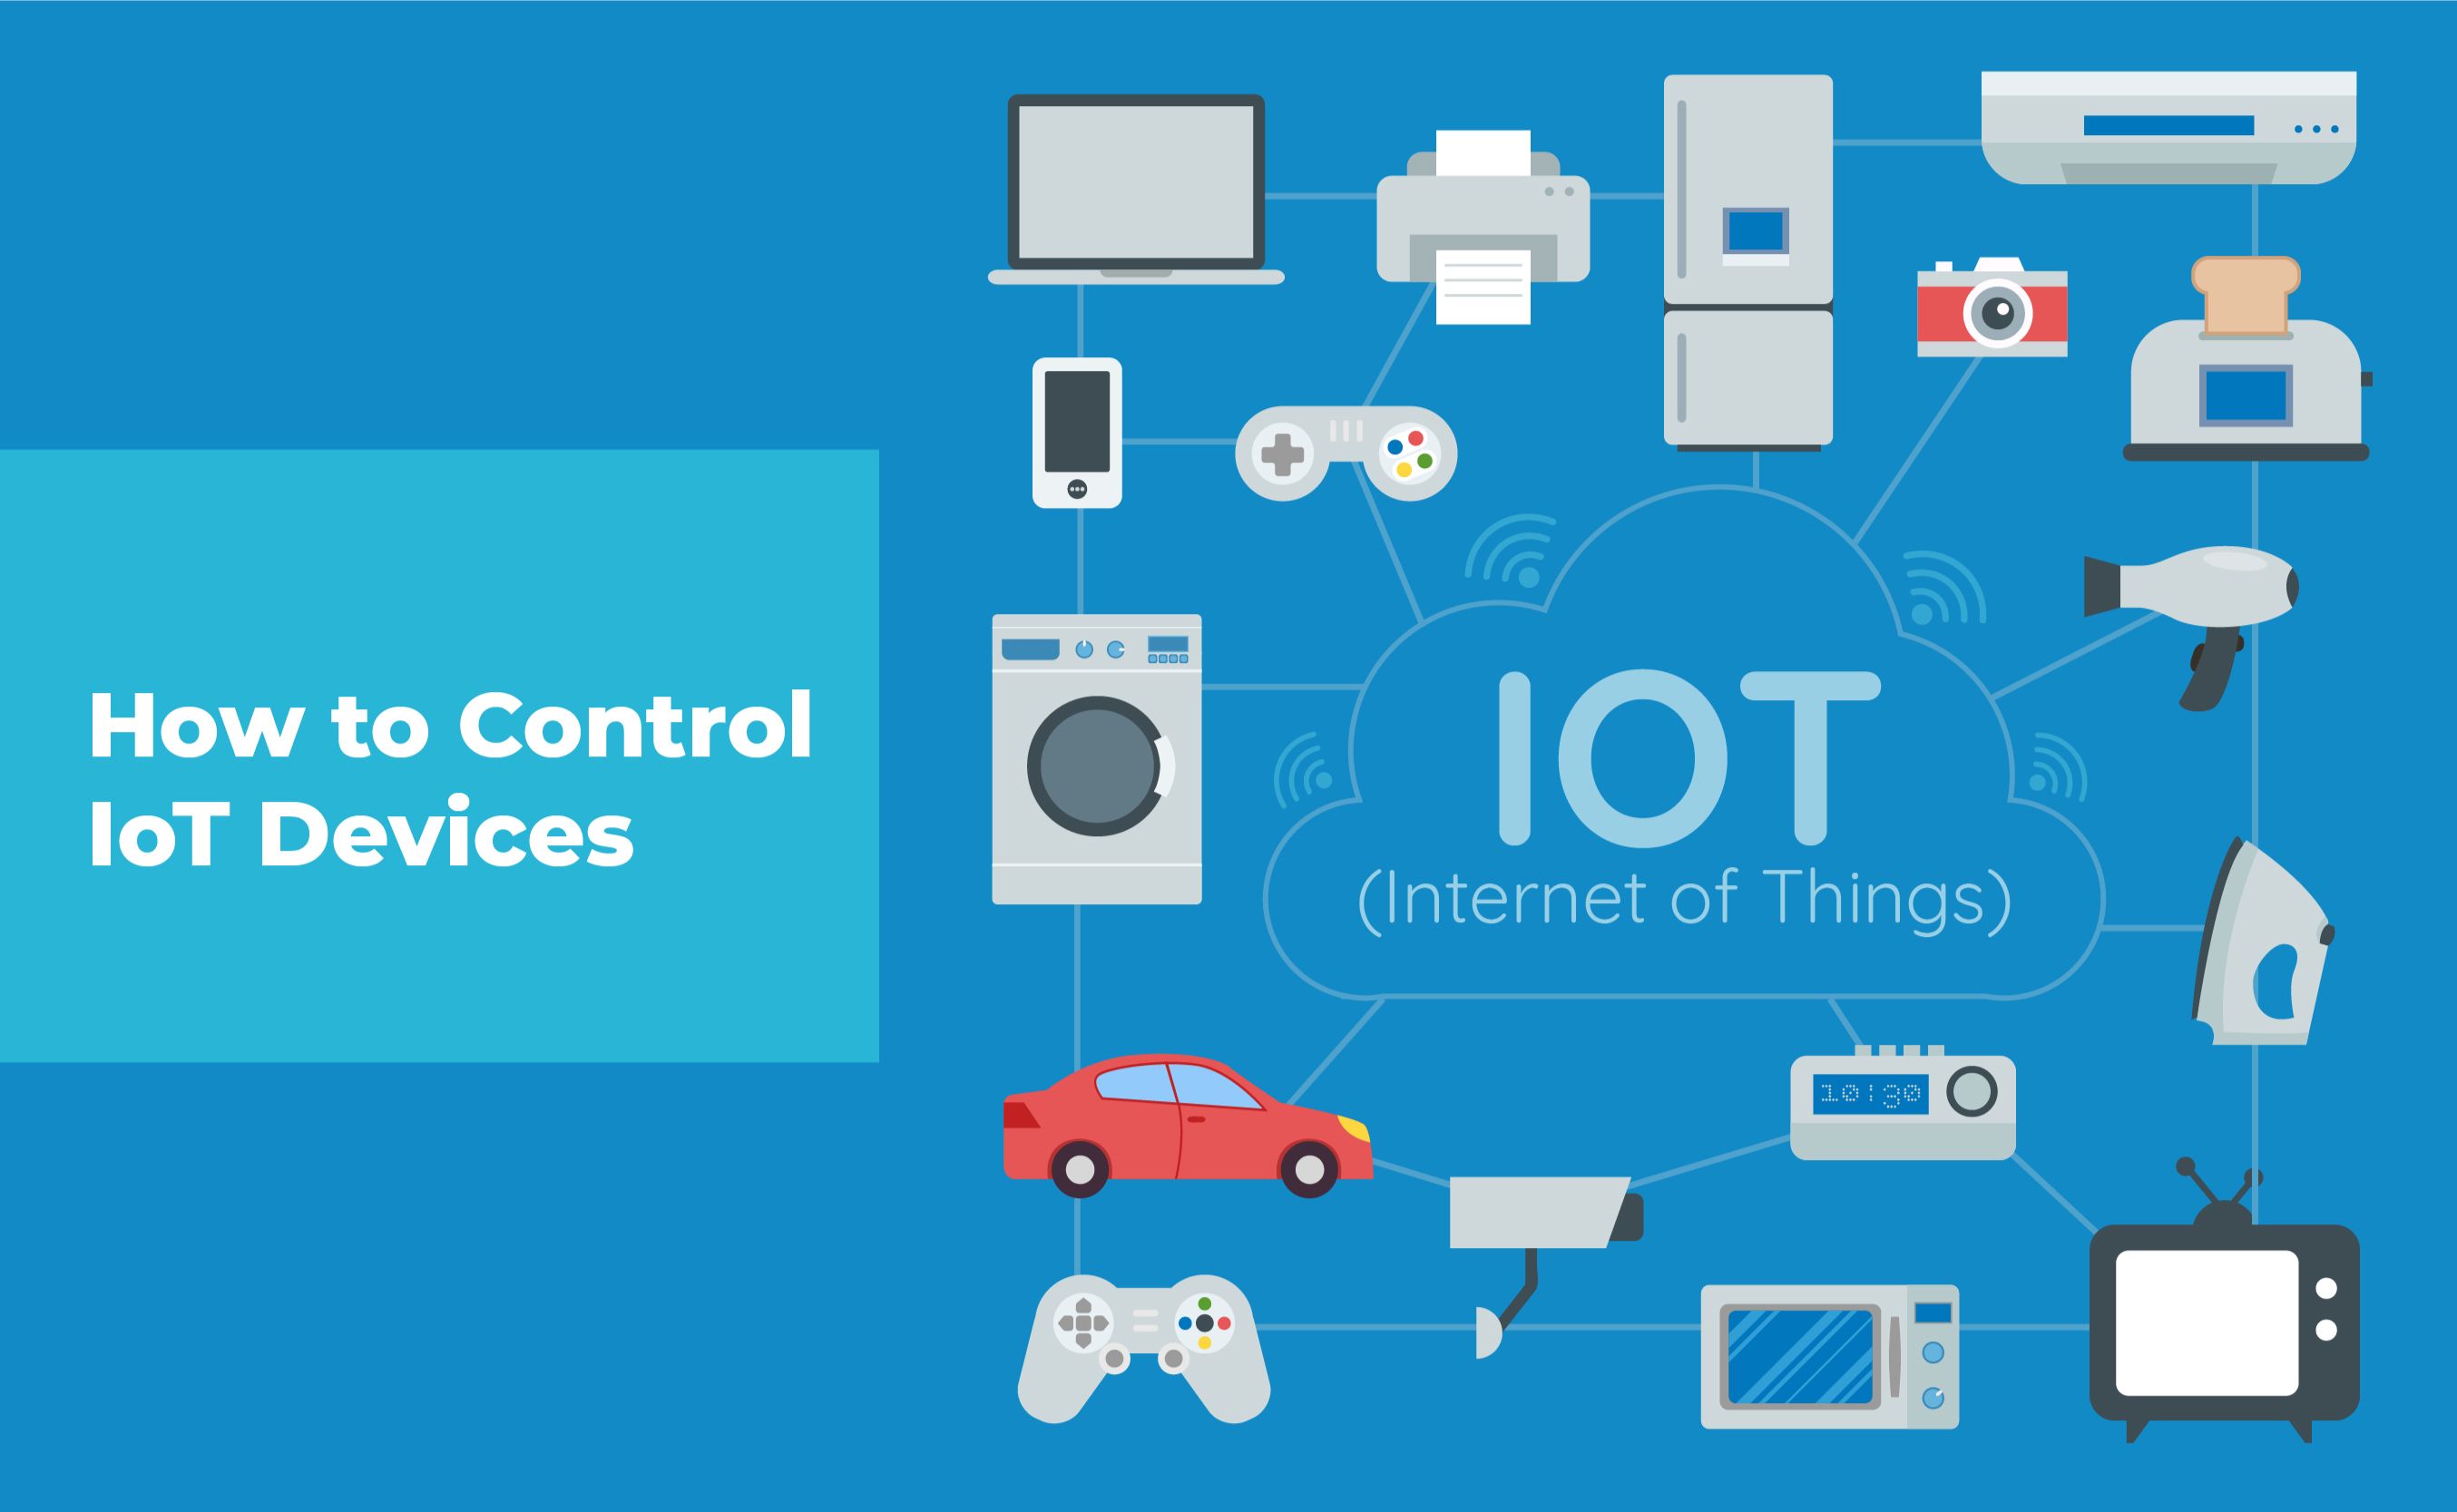
IoT devices are everywhere these days—smart thermostats, security cameras, home automation systems, you name it. But these devices often don’t come with fancy user interfaces. That’s where SSH comes in. With SSH, you can:
- Access your IoT device’s command line interface (CLI).
- Transfer files securely using SCP (Secure Copy Protocol).
- Monitor and manage your device remotely.
- Run scripts and automate tasks.
It’s like having a secret backdoor to your IoT setup, but don’t worry—it’s totally legit and super useful.
Setting Up SSH on Windows 10
Now that you know why SSH is awesome, let’s talk about how to set it up on Windows 10. It’s actually pretty straightforward, but there are a few steps you need to follow. Here’s what you do:
Step 1: Enable the OpenSSH Client
Windows 10 comes with an OpenSSH client pre-installed, but you might need to enable it first. Here’s how:
Read also:Transform Your Smile The Ultimate Teeth Whitening Solution
- Open the Start menu and search for "Manage optional features."
- Click on "Add a feature."
- Scroll down and select "OpenSSH Client," then click "Install."
That’s it! You’ve now got the SSH client ready to go. Easy, right?
Step 2: Install an SSH Server on Your IoT Device
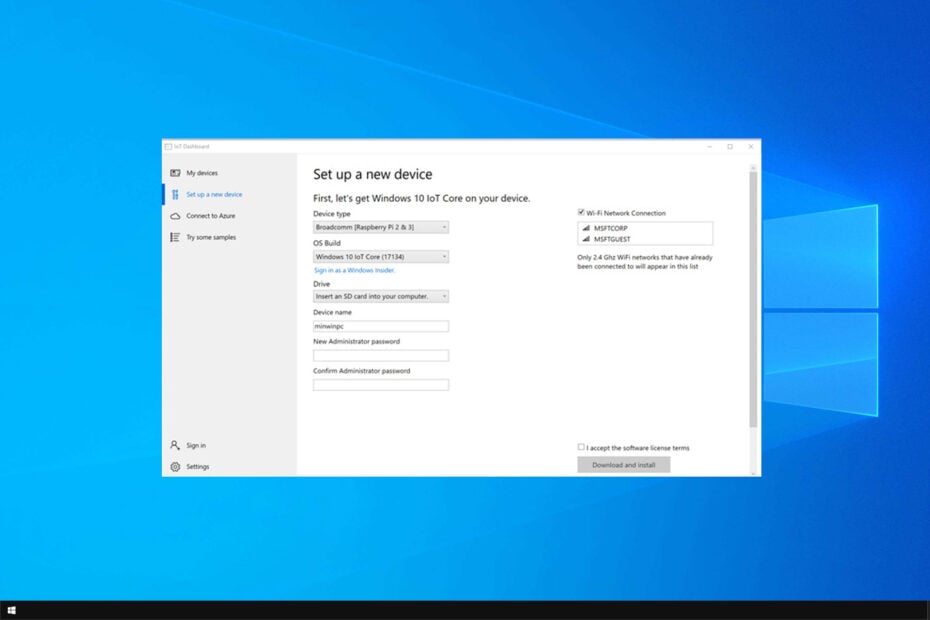
For SSH to work, your IoT device needs to have an SSH server running. Most Linux-based IoT devices, like Raspberry Pi, come with SSH pre-installed, but you might need to enable it. For example, on a Raspberry Pi, you can enable SSH by running:
sudo raspi-config
Then navigate to the SSH option and enable it. If your IoT device runs a different OS, check its documentation for instructions on setting up an SSH server.
Connecting to Your IoT Device via SSH
Alright, let’s connect! Once you’ve set up the SSH client on Windows 10 and the SSH server on your IoT device, you’re ready to roll. Here’s how you do it:
Step 1: Find Your IoT Device’s IP Address
Before you can SSH into your IoT device, you need to know its IP address. You can usually find this in your router’s settings or by running a command like:
ifconfig (for Linux-based devices)
or
ipconfig (for Windows devices).
Step 2: Open PowerShell or Command Prompt
Windows 10 gives you two options for SSH: PowerShell or Command Prompt. Both work great, so pick your favorite. To open PowerShell, just press Win + X and select "Windows PowerShell." For Command Prompt, search for "cmd" in the Start menu.
Step 3: Enter the SSH Command
Now, here’s the magic part. Type the following command, replacing username and IP_address with your IoT device’s details:
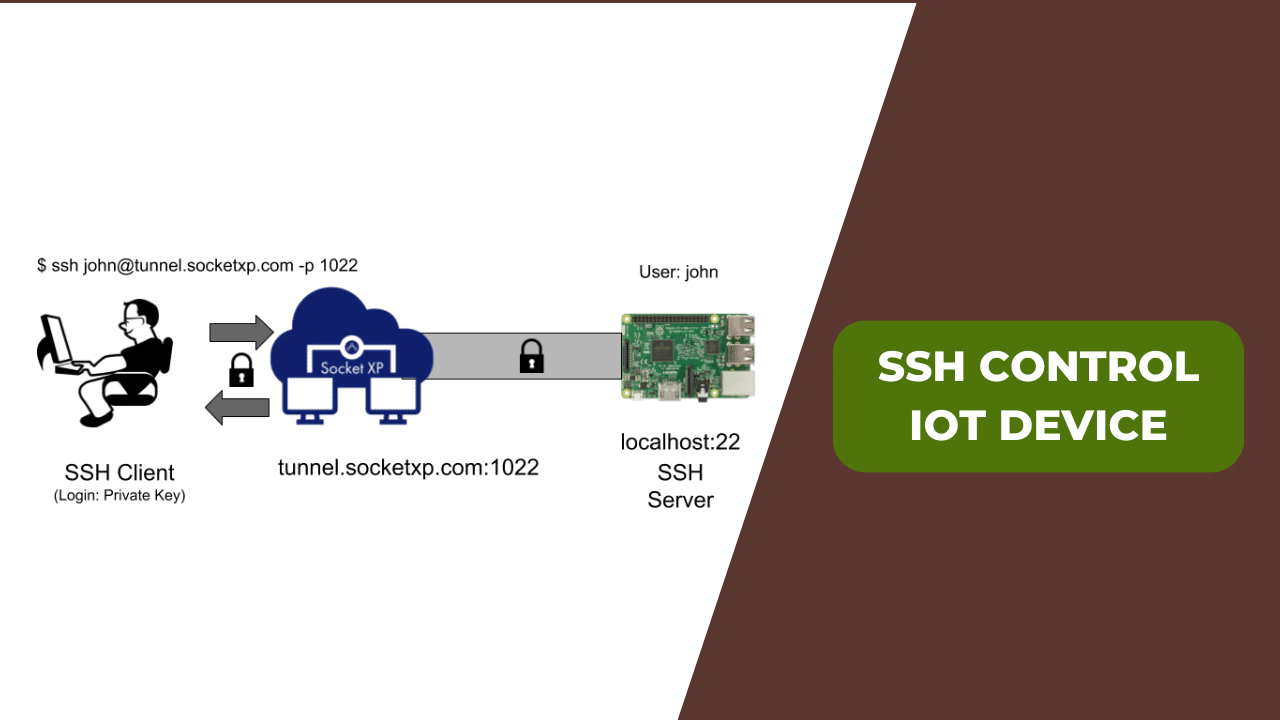
ssh username@IP_address
Hit Enter, and you’ll be prompted to enter your password. Once you do, you’re in! You’re now connected to your IoT device via SSH.
Securing Your SSH Connection
Security is key when you’re working with IoT devices. Here are a few tips to keep your SSH connection safe:
- Use Strong Passwords: Avoid using simple passwords like "1234" or "password." Go for something complex and unique.
- Enable Key-Based Authentication: Instead of passwords, use SSH keys for added security. It’s a bit more advanced, but totally worth it.
- Disable Root Login: Don’t allow root access over SSH. Create a regular user account and use that instead.
- Change the Default Port: SSH runs on port 22 by default, but you can change it to something less obvious to deter attackers.
By following these tips, you’ll make it much harder for anyone to mess with your IoT setup.
Troubleshooting Common SSH Issues
Even the best-laid plans can go awry sometimes. If you’re having trouble connecting to your IoT device via SSH, here are a few things to check:
1. Double-Check Your IP Address
Make sure you’ve got the right IP address for your IoT device. If it’s changed (which can happen if you’re using DHCP), you’ll need to update it.
2. Ensure SSH is Enabled
Double-check that SSH is enabled on both your Windows 10 machine and your IoT device. If it’s not, go back and follow the setup steps.
3. Verify Network Connectivity
Make sure both your PC and IoT device are on the same network. If they’re not, you’ll need to configure your router or use a different method to connect.
Advanced Tips for SSH Enthusiasts
Once you’ve got the basics down, you can start exploring some advanced SSH features. Here are a few ideas:
- Set Up Port Forwarding: This lets you access your IoT device from outside your local network.
- Use SSH Tunnels: Create secure tunnels for other protocols, like HTTP or FTP.
- Automate Tasks with Scripts: Write scripts to automate repetitive tasks on your IoT device.
These tips can take your SSH skills to the next level, but remember: with great power comes great responsibility. Always prioritize security!
Real-World Applications of SSH for IoT
SSH isn’t just for geeks and tech enthusiasts. It has real-world applications that can make your life easier. Here are a few examples:
- Remote Monitoring: Keep an eye on your IoT devices from anywhere in the world.
- Automated Backups: Set up scripts to automatically back up your IoT device’s data.
- Home Automation: Control your smart home devices with SSH commands.
With a little creativity, the possibilities are endless!
Conclusion: Level Up Your IoT Game with SSH
So, there you have it—your complete guide to SSH-ing into an IoT device on Windows 10. Whether you’re a beginner or a seasoned pro, SSH is a powerful tool that can help you manage your IoT setup like a boss. Just remember to always prioritize security and keep learning. The IoT world is evolving rapidly, and staying ahead of the curve will keep you ahead of the game.
Now it’s your turn! Try out what you’ve learned, and let us know how it goes. If you’ve got questions or need help, drop a comment below. And don’t forget to share this article with your tech-savvy friends. Together, we can level up the IoT game!
Table of Contents