Imagine this: You're managing a fleet of IoT devices spread across different locations, and you need to access them remotely to perform updates or troubleshoot issues. How do you do it without breaking the bank? Enter remote SSH login for IoT devices running on Ubuntu—a cost-effective, secure, and reliable solution that every tech enthusiast should know about.
Remote SSH login is not just a buzzword in the tech world; it's a practical tool that can revolutionize how you manage your IoT devices. Whether you're a developer, hobbyist, or small business owner, understanding how to set up and secure SSH access on Ubuntu-based IoT systems is essential. This guide will walk you through everything you need to know, from the basics to advanced tips.
So, buckle up! We're diving deep into the world of remote SSH login for IoT devices using Ubuntu. By the end of this article, you'll have all the knowledge you need to set up a secure, free, and efficient system that works like a charm. Let's get started!
Read also:Revitalash Advanced Eyelash Conditioner Transform Your Lashes Like Meghan Markle
Here's a quick table of contents to help you navigate:
- Introduction to SSH
- Why SSH for IoT Devices?
- Setting Up SSH on Ubuntu
- Securing Your SSH Connection
- Troubleshooting SSH Issues
- Best Practices for SSH on IoT
- Alternatives to SSH for IoT
- SSH and IoT Security
- Tips for Remote Access
- Conclusion
Introduction to SSH: What Is It and Why Should You Care?
Understanding SSH Basics
SSH stands for Secure Shell, and it's basically your golden ticket to securely accessing and managing remote devices over a network. Think of it as a super-powered tool that lets you connect to your IoT devices from anywhere in the world, all while keeping your data safe and sound.
For those of you who are new to this, SSH works by creating an encrypted connection between your local machine and the remote device. This means that even if someone tries to eavesdrop on your connection, they won't be able to make sense of the data being transmitted. Pretty cool, right?
Now, when it comes to IoT devices, SSH is a game-changer. Whether you're running a smart home setup or managing industrial sensors, having remote access is crucial. And with SSH, you get that access without compromising on security.
Why SSH for IoT Devices? It’s All About Security and Efficiency
Security First, Always
Let's face it: IoT devices are often the weakest link in the security chain. Hackers love targeting them because they're usually less protected compared to traditional computers. But here's the thing—SSH can help you tighten that security gap.
By using SSH for remote access, you're ensuring that all communication between your local machine and the IoT device is encrypted. This makes it much harder for attackers to intercept or manipulate your data. Plus, SSH supports public-key authentication, which adds an extra layer of security by requiring a unique key pair for access.
Read also:Kathie Lee Gifford Opens Up About Love And Dating After Loss
Efficiency-wise, SSH is a lightweight protocol that doesn't hog your device's resources. This is especially important for IoT devices, which often have limited processing power and memory. So, you're getting top-notch security without sacrificing performance. Win-win!
Setting Up SSH on Ubuntu: A Step-by-Step Guide
Installing SSH Server on Ubuntu
Alright, let's get our hands dirty and set up SSH on an Ubuntu-based IoT device. The first step is installing the SSH server, which allows your device to accept incoming connections. Here's how you do it:
- Log in to your Ubuntu device either directly or via a terminal.
- Run the following command to install the OpenSSH server:
sudo apt update && sudo apt install openssh-server. - Once the installation is complete, check if the SSH service is running by typing:
sudo systemctl status ssh.
And that's it! Your Ubuntu device is now ready to accept SSH connections.
Configuring SSH for Remote Access
Now that SSH is installed, you'll need to configure it for remote access. Here are a few key steps:
- Make sure your device has a static IP address or is connected to a reliable network.
- Enable port forwarding on your router to direct incoming SSH traffic to your device.
- Test the connection by running the command:
ssh username@device_ipfrom another machine.
Remember, security is key here. Always use strong passwords and consider disabling password authentication in favor of public-key authentication. More on that later!
Securing Your SSH Connection: Best Practices
Using Public-Key Authentication
One of the most effective ways to secure your SSH connection is by using public-key authentication. Here's how it works:
- Generate a key pair on your local machine using the command:
ssh-keygen. - Copy the public key to your IoT device by running:
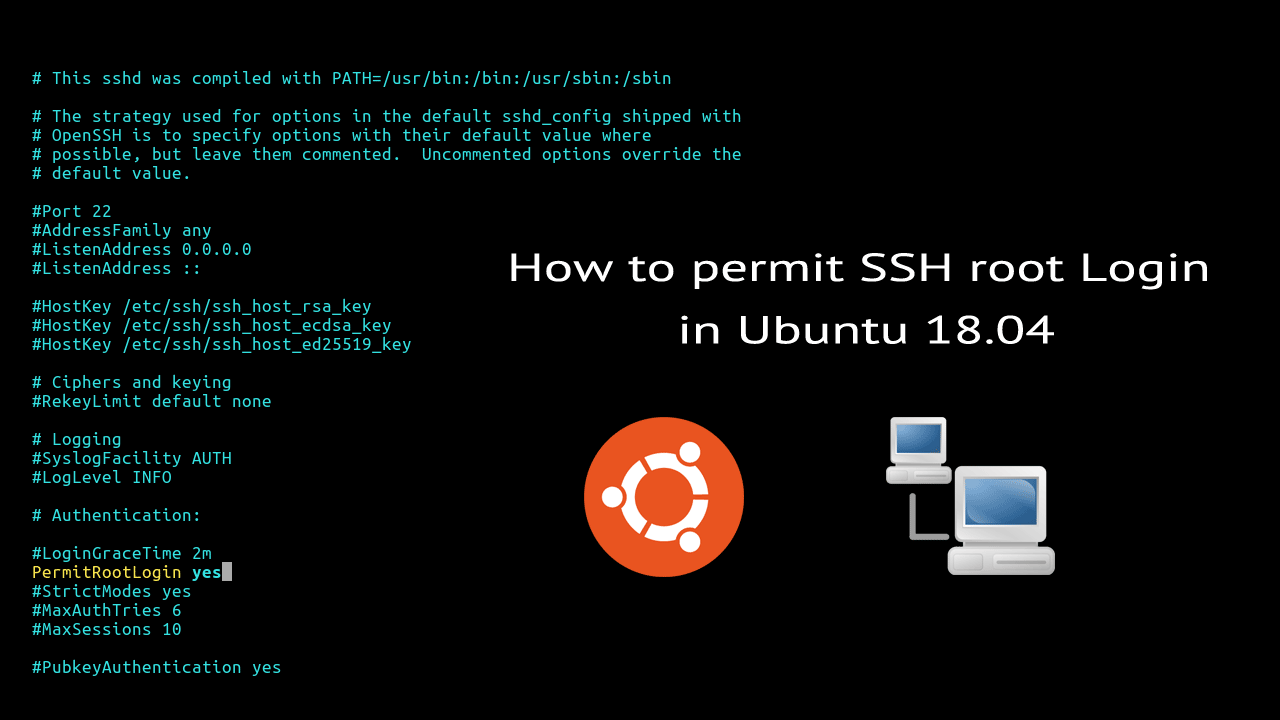
ssh-copy-id username@device_ip. - Disable password authentication in the SSH config file (
/etc/ssh/sshd_config) by settingPasswordAuthentication no.
This method ensures that only devices with the correct private key can access your IoT device, significantly reducing the risk of unauthorized access.
Changing the Default SSH Port
Another simple yet effective security measure is changing the default SSH port (22) to something less predictable. Hackers often scan for open port 22, so by moving your SSH service to a different port, you can deter casual attackers.
To change the port, edit the SSH config file and set the Port parameter to your desired number. Don't forget to update your firewall and router settings accordingly!
Troubleshooting SSH Issues: Common Problems and Solutions
Connection Refused Errors
If you're getting a "Connection refused" error when trying to connect via SSH, here are a few things to check:
- Is the SSH service running on your IoT device? Use
sudo systemctl status sshto verify. - Are there any firewall rules blocking incoming SSH traffic? Check your firewall settings and ensure port 22 (or your custom port) is open.
- Is your router configured correctly for port forwarding? Double-check your router settings to make sure traffic is directed to the right device.
If none of these work, try restarting the SSH service or rebooting your device. Sometimes, a simple refresh does the trick!
Best Practices for SSH on IoT: Stay Safe and Smart
Regularly Update Your System
One of the easiest ways to keep your IoT devices secure is by keeping their software up to date. Regular updates not only fix bugs but also patch security vulnerabilities that could be exploited by attackers.
To update your Ubuntu system, run the following commands:
sudo apt updatesudo apt upgrade
Set up automatic updates if possible to ensure your device stays protected without requiring constant manual intervention.
Alternatives to SSH for IoT: Exploring Other Options
Using MQTT for Lightweight Communication
While SSH is a great tool for remote access, it's not the only option available for IoT devices. MQTT (Message Queuing Telemetry Transport) is another popular protocol that's especially well-suited for lightweight communication between devices.
MQTT works by allowing devices to publish and subscribe to messages on specific topics. This makes it ideal for scenarios where you need to send small amounts of data frequently, such as sensor readings or status updates.
However, keep in mind that MQTT doesn't offer the same level of security as SSH. If you're dealing with sensitive data, you might want to combine MQTT with SSL/TLS encryption for added protection.
SSH and IoT Security: The Bigger Picture
Securing the Entire IoT Ecosystem
While SSH is a powerful tool for securing individual devices, it's important to remember that IoT security is a holistic effort. This means taking steps to protect not just your devices, but also your network and the data they generate.
Here are a few tips for securing your entire IoT ecosystem:
- Use strong, unique passwords for all devices and accounts.
- Enable two-factor authentication wherever possible.
- Regularly monitor your network for suspicious activity.
- Keep all firmware and software up to date.
By adopting a comprehensive security strategy, you can minimize the risk of attacks and ensure the smooth operation of your IoT devices.
Tips for Remote Access: Make It Easy and Efficient
Using SSH Clients for Seamless Access
While you can use the command line to connect via SSH, there are also plenty of great SSH clients available that make remote access even easier. Some popular options include:
- PuTTY (for Windows users)
- Termius (cross-platform)
- mobaxterm (all-in-one terminal solution)
These tools often come with features like session management, keyboard shortcuts, and customizable interfaces, making your life as a remote admin much simpler.
Conclusion: Mastering Remote SSH Login for IoT Devices on Ubuntu
And there you have it—your complete guide to remote SSH login for IoT devices running on Ubuntu. From setting up SSH to securing your connections and exploring alternative protocols, we've covered everything you need to know to take full control of your IoT setup.
Remember, security should always be your top priority. By following best practices and staying vigilant, you can protect your devices from potential threats and ensure they continue to function as intended.
So, what are you waiting for? Dive in, experiment, and let us know how it goes. Feel free to leave a comment below or share this article with your fellow tech enthusiasts. Together, we can build a safer, smarter IoT world!